I cant tell you how many times I have heard the words " You are such a Martha Stewart" (haha) I just love crafting, diy, painting, sewing, and home decorating. It gives me great satisfaction to look around my house and say " I MADE THAT!"

Saturday, July 9, 2011

Trash to Treasure Project # 1

From Let's Get Cooking

 Today I finally go to work on one of my finds from the other day. You can see what else I found  here. I have so many fun ideas for each treasure I found, but first on the list was this tall skinny shelf.

From Let's Get Cooking

I knew I wanted to use it in Abby's room, to go with her kitchen stuff. First it needed a mini makeover! The best part about this makeover was that it was completely free! Gotta LOVE that ;)  I started by giving the whole shelf a good scrubbing.  Next I used leftover molding from Abby's stove project to beautify this plain shelf.

From Let's Get Cooking

 Can I just say besides my husband there is only one other man who has managed to steal my heart! His name is Brad...the nail gun and  he was the best Christmas present ever! I love you Hubby. ha ha ;)

From Let's Get Cooking

Next I used a little fast drying mud to putty the holes.

From Let's Get Cooking

It took 3 coats of white semi gloss paint to get a smooth finish.

From Let's Get Cooking

Now for the fun part! I added paintable wallpaper to the back of each opening. After that I used some of Abby's wall paint and I little pink glaze to do the faux finish. Here it is all complete and filled with her goodies!

From Let's Get Cooking

From Let's Get Cooking


From Let's Get Cooking


1 project down 10 to go! What fun projects do you have going on this week? What finds have you rescued from the trash pile? I hope I am not the only crazy trash picker out there! ;)


Thanks for stopping by,

Jeni
From Let's Get Cooking

Tuesday, July 5, 2011

Trash or Treasure


 "One man's trash is another man's treasure"


  This morning as I left to get some errands done I noticed my neighbor had a huge pile of stuff next to his trash can. I don't know about you but seeing that huge pile got me so excited! I got this overwhelming urge to run sneak over and dig through it! Haha! Well, sadly, I had to do a few things in town first, but I just knew the pile of treasures would be there waiting for me...


Photobucket


  I hurried through my shopping and raced back home, obeying all traffic laws along the way  ;-), to find...SOMEONE DIGGING IN MY TRASH! I mean...treasures. So I hung my head and went into the house to put my groceries away.  I maybe peeked out the window every two minutes to see if they were GONE! (Please tell me I am not the only treasure hunter out there)

   Finally they were gone! So I politely went up to Mr. Neighbor's door, rang the bell, and asked if I could look through his pile of goodies. Of course he said go ahead, and here is what I found!

Photobucket

I am so excited to share their transformation with you over the next few weeks! I <3 free stuff!


Thanks for stopping by,

Jeni

Saturday, July 2, 2011

The Ruby Red Slippers

From ruby red slippers


Ok folks, I finally got to doing a tutorial for you lovely ladies! Now you can make ballet flats too! To start off here is my pattern I use for my 18 month old daughter. She wears a size 4...

Here is how I came up with the pattern...

From ruby red slippers
Using a pair of shoes and trace 1/4 inch seam allowance around sole of the shoe. Then you will have the sole pattern. I cut my patterns out of scrap book paper so they are easier to keep track of.

From ruby red slippers

Next cut out your U shape. I just eyed it to come up with mine.

From ruby red slippers

Here is what it looks like compared to the sole.

From ruby red slippers

Now that you have your pattern. You are going to need to cut 4 soles (2 left 2 right) and 4 U shapes. Place them together in 4 stacks of 2 like so...

From ruby red slippers

Next sew the sole together. (so you have one left and one right 2 layers thick)

From ruby red slippers

After that sew the inside of the U's together.

From ruby red slippers

Next use your iron to press the seem flat, and sew both wrong ends of the U together.

From ruby red slippers

Flip the doubled U shape inside so the sewn seam is on the inside. Iron to help it keep it's shape.

From ruby red slippers

Sew along the top to create a finished edge. Then starting at the back heal sew the top to the sole.

From ruby red slippers

When you get to the toes put two small pleats around the tip. Turn inside out, and it should look like this...

From ruby red slippers

Next sew elastic around heal to keep it from sliding down, and I added a ribbon covered elastic strap.

From ruby red slippers

From ruby red slippers

I added little ribbon roses to toes to decorate them! Here they are all finished.

From ruby red slippers

Here they are on my sweet little model, Little Miss Abigail Grace.

From ruby red slippers

From ruby red slippers

From ruby red slippers

From ruby red slippers

Are we done yet? LOL I just love this kid!

From ruby red slippers


Well that is it! I just love making shoes for my little girl! I hope this helps you to make some for your sweet little girl too!


Thanks for stopping by


Jeni

A Sister in NEED

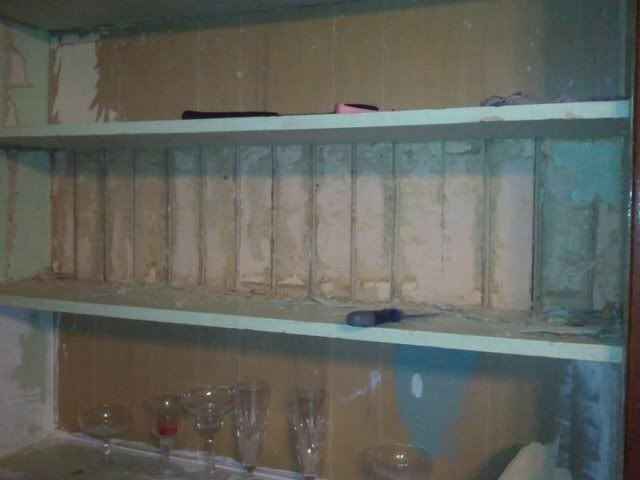
  A few months back I went up to Wisconsin to visit my family. We stayed for 3 weeks, which was a huge blessing! I told my sister, I would spend one of the 3 weeks helping her redo her kitchen. Her house is an old Victorian built sometime time in the early 1900. I wanted to share with you what we discovered hiding behind the UGLY wallpaper! But first here is what it looked like BEFORE:


From Jul 2, 2011

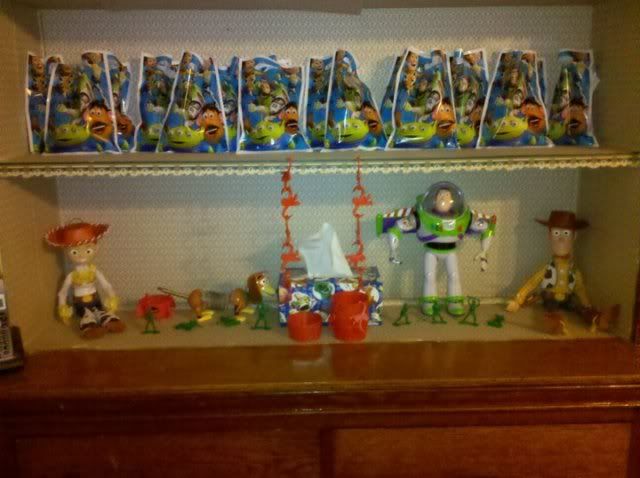
Here is a close up of the inside of the hutch. Don't you just LOVE the Toy Story styling ;) Maybe we will start a trend! LOL

Photobucket


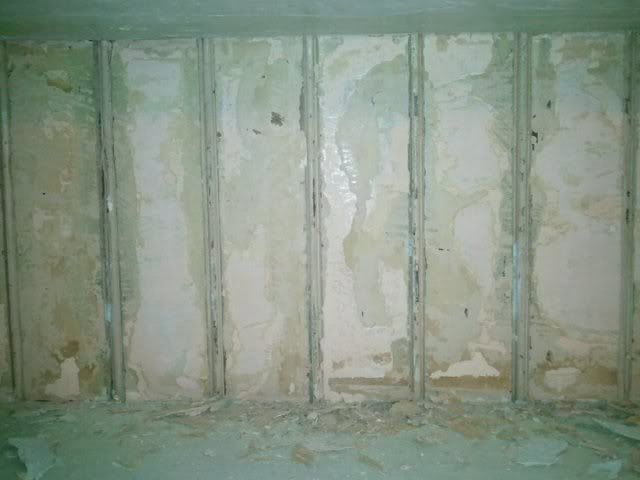
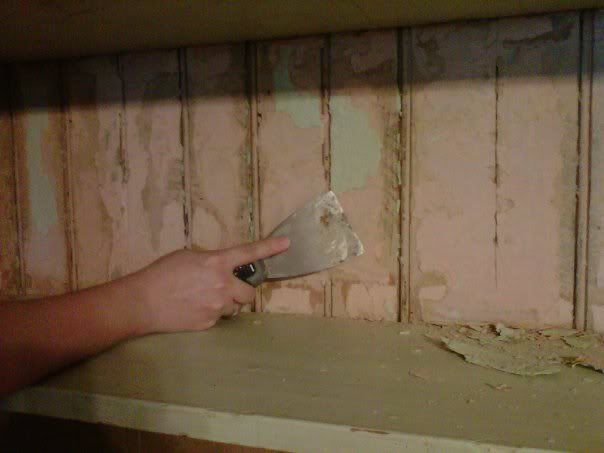
The nasty peach wall paper and wood paneling was hiding beautiful beadboard!!! Who would cover that up???

Photobucket


Photobucket


It was a MESS, but so worth it!!!


Photobucket

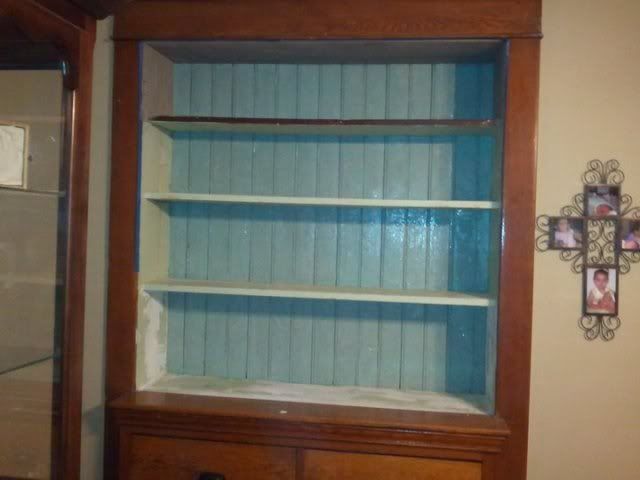
I wanted to keep the old chippy paint look of it, so I gave it a base coat of a teal color.

Photobucket


Then added a light teal wash to  highlight the weathered spots. Look at that amazing difference from straight paint to the  faux finish!!!

Photobucket

Close up of finish:

From Jul 2, 2011

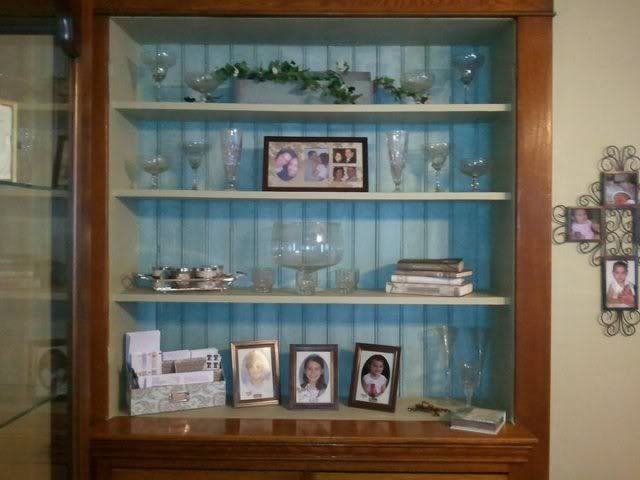
Here it is filled with her personal items.
Photobucket


Ok if the hutch wasn't enough eye candy in this house, check out what we did to this island! Before:

From Jul 2, 2011

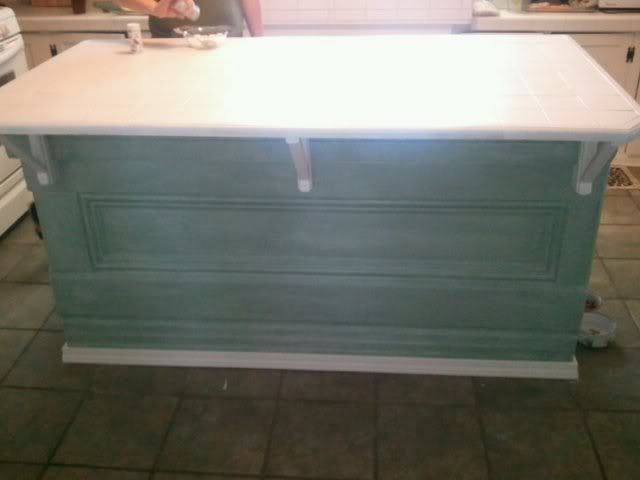
We recolored the grout, and painted the yellow wood trim a shiny gloss white! I gave the island base the same finish as the hutch to tie the rooms together.

Photobucket

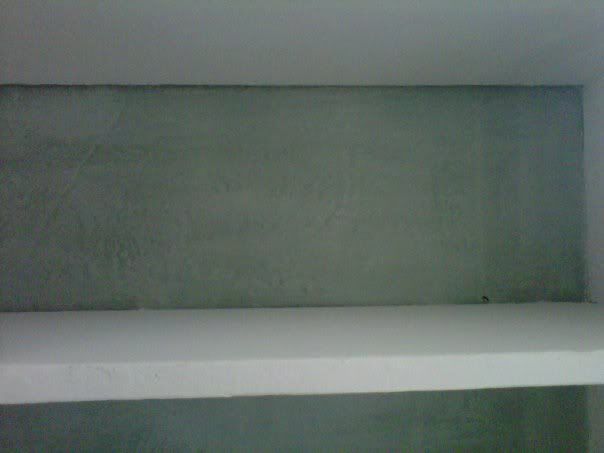
The inside of the cabinets were covered with wallpaper too, so we thought maybe we would luck out and have bead board behind them too. Sadly not, but we did paint and finish the chippy plaster walls the same way.
Photobucket


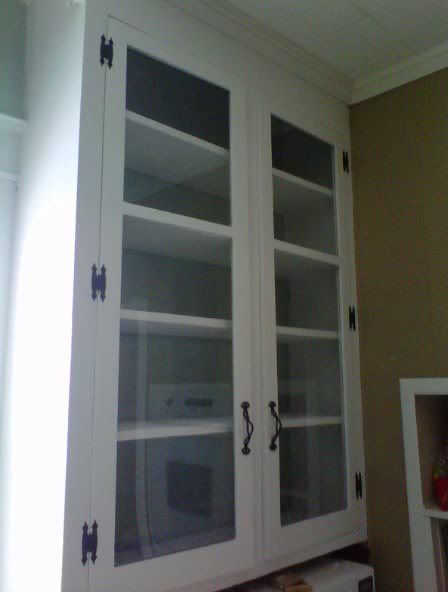
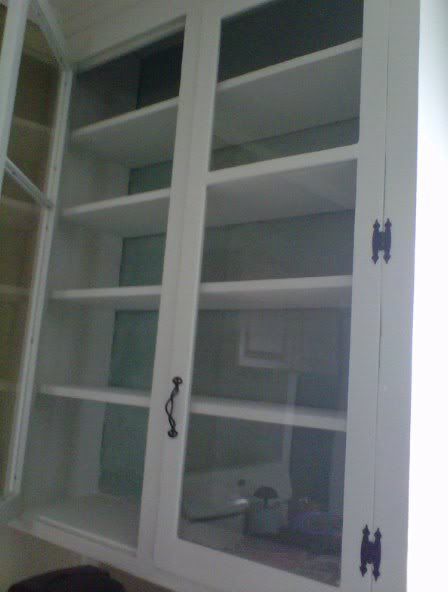
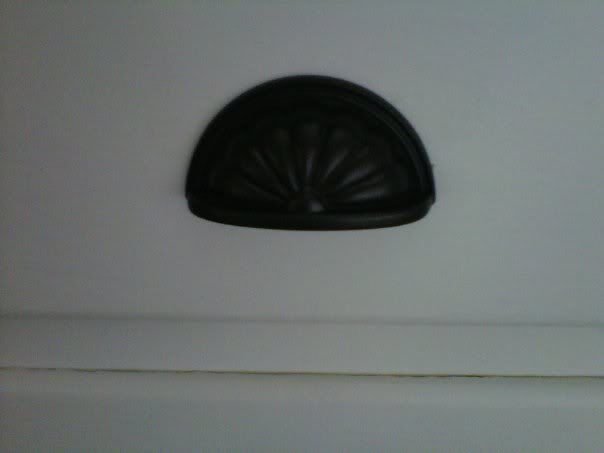
Can you believe these huge cabinets! She didn't realize the glass door were hiding in her basement! We cleaned them up, painted them, and had glass cut to fit each door. Next was the hardware! I love me some Oil Rubbed Bronze Hardware!!! The handles are to die for and the cup pulls are just so classy!
Photobucket


Photobucket


I just look the romantic look it gives the drawers.

Photobucket


Next project will be replace counter tops and add a back splash. That will have to wait until my next visit! :)


Photobucket


Thanks for stopping by


Jeni

Friday, July 1, 2011

Momma's Little Firecracker

I want to share with you the tutu I made Abby today for a party! It came together in less than an hour, and only cost $7 (but I have enough leftovers to make 3 more) It is so simple...

From Jul 1, 2011

Measure elastic to your child's waist, and sew ends together or tie into a small knot.

I cut my strips about 16 inches ( I ended up trimming the ends down more after she tried it on)

Fold strip in half and hold loop on the inside of the elastic. Take ends and pull them through loop. Pull tight and your done. I did 1/4 of skirt blue, and 13 red and white stripes.

From Jul 1, 2011

From Jul 1, 2011

From Jul 1, 2011

From Jul 1, 2011

I added stars I cut out of white glittery scrapbook paper and hot glued them on! Here it is all done!


From Jul 1, 2011


From Jul 1, 2011

From Jul 1, 2011


Thanks for stopping by

Jeni